Monday, September 23, 2013

Union Jack Recycled Sweater Quilt

I put this quilt together in May - if you remember I used scrap cotton on the back of the felted sweaters to help keep their shape after they were cut and while I was piecing them together  and then you saw me layer it in June with my trusty cardboard roll.

This quilt has been sitting staring at me from our spare room waiting until I felt confident enough to take it on with my improving free motion quilting skills. 


I quilted the quilt from the back. The backing is mostly a light blue paisley pattern with a scrappy strip along one edge. Following the paisley curves gave a very fluid soft quilting pattern on top. My thanks to my quilting teacher Teri who suggested this idea. It is something I will surely use again - using the backing as an outline for quilting patterns. 


The finished quilt measures 86 x 72. I used flannel instead of cotton on the top as I wanted something with a soft/fuller texture to blend in with the felted sweaters. The flannel & felted sweaters give it a heavier cosy feel - perfect for the winter which unfortunately will probably soon be here. 


The Union Jack is placed on the bottom 2/3rds of the quilt so once you put it on your bed the Union Jack isn't covered by comforters or pillows.


It felt good to make a Union Jack. I've lived in New York for nearly 10 years now. I still feel very British at heart.

Technical Info:
Batting: Warm & Natural 100% Cotton Batting
Backing Fabric: Blue Cotton Paisley from stash
Top: A E Nathan 108" Wide Flannel Quilt Backing Navy
Border & Binding: 108" Wide Flannel Quilt Backing Red
Thread: Aurifil Quilting Thread 50 wt Dark Navy & Sulky® Clear Premier Invisible Thread

Monday, September 16, 2013

Free Motion Quilting: Around the World Play Mat

This is a preprinted panel that I picked up at JoAnn's. I've admitted previously that I've been a bit prejudiced about preprinted panels. But I am now humbled and yet again shown myself that you shouldn't make up your mind about things until you have tried them. It reminds me of when I was pregnant with our first bunny and I had this idea that she would only have one wholesome wood toy - and now - our playroom is full of small pink plastic princess toys.

This was a quick and easy gift to make and I hope it will get lots of play in the future. I used an invisible thread and used my BSR foot (we are not yet friends) to follow around all the countries. I can not tell you how much I learnt about Geography while doing this - and I took Geography at school - although our Geography had a more social element to it - now I'm making excuses for my lack of intelligence about how long the River Nile is (4132miles apparently.)


After I had attacked the panel with my growing free motion skills (along each longitude & latitude lines and around every country, lake, river, island) I added a pocket in the bottom right hand part of the panel. And this is where I get really excited - a button hole!!! I have a button hole foot that I haven't really used since I got Bernie - and I don't know why I've never used it. THRILLED I learnt something new - though now I will try not to add button holes to everything.
I'm an addict of a website about sensory and learning play for kids - and Asia at Fun At Home with Kids put me onto Safari Ltd Toobs. They are tubes of small plastic miniatures. I got four Toobs:


...In the Water (boats) ...
... In the Air (airplanes) ...
... Around the World (Famous World buildings like the Eiffel Tour, Big Ben etc) ... 
... and World Landmarks. 

You can fit about two packs of the miniatures in the pockets (or your select favorites) at the same time.
The playmat and miniatures roll up in the mat for easy transportation. Why not take the world with you at all times?  To Granny's house or on a picnic, upstairs, downstairs .....

... happy travelling brave little explorers!

Wednesday, September 11, 2013

9/11 Memorial Firefighters Quilt

Today I am in NYC presenting this quilt to the family of Ronald Bucca - the only Fire Marshall who lost his life in 9/11. There is so much I could say - but instead here are some photos of the finished quilt and my words for the speech which I will make before presenting the quilt in front of some 150 people.

Front

Back - which incorporates all the remaining t-shirt material - as well as arms!


"When Jessica invited me to make this quilt for her I was touched that she trusted me enough to cut up her father's t-shirts and turn them into this blanket she had dreamed for her children. A happy blanket, filled with color, love and memories - she has called it a map of memories of her father.

During the making of this quilt I have thought about Ron Bucca a tremendous amount. I never had the pleasure of meeting Ron Bucca but as far as I can work out he was a true American hero - someone who dedicated his life to his family, his country and his mission to save lives. I know his loss has left a hole in many people's hearts - but especially for the Bucca family whom surprise me each time I meet them with their kindness, generosity, warmth and continued lust for life after such a tragic event.

I am honored to have been a part of their healing process by making this quilt. I am currently filing my 501(c)3 papers to form 'Quilting A Memory' which will provide free quilting services to those service men & women who have lost their life in service of their country. I am truly passionate about recycling clothes and uniforms into beautiful quilts and I hope that I will be able to reach others with my work too.

And finally I especially want to thank Chief Fire Marshal Robert Byrnes and those at the Bureau who so kindly agreed to pay for this quilt in honor of Ron, his daughter Jessica and his granddaughters Isabel & Emmy.

Thank you for listening & bless you all."

Memorial labels on the back of the quilt.

My favorite heart from the quilt.


There was a lot of free motion quilting in this piece.

Wrapped in a ribbon and ready to go to home.

Friday, September 6, 2013

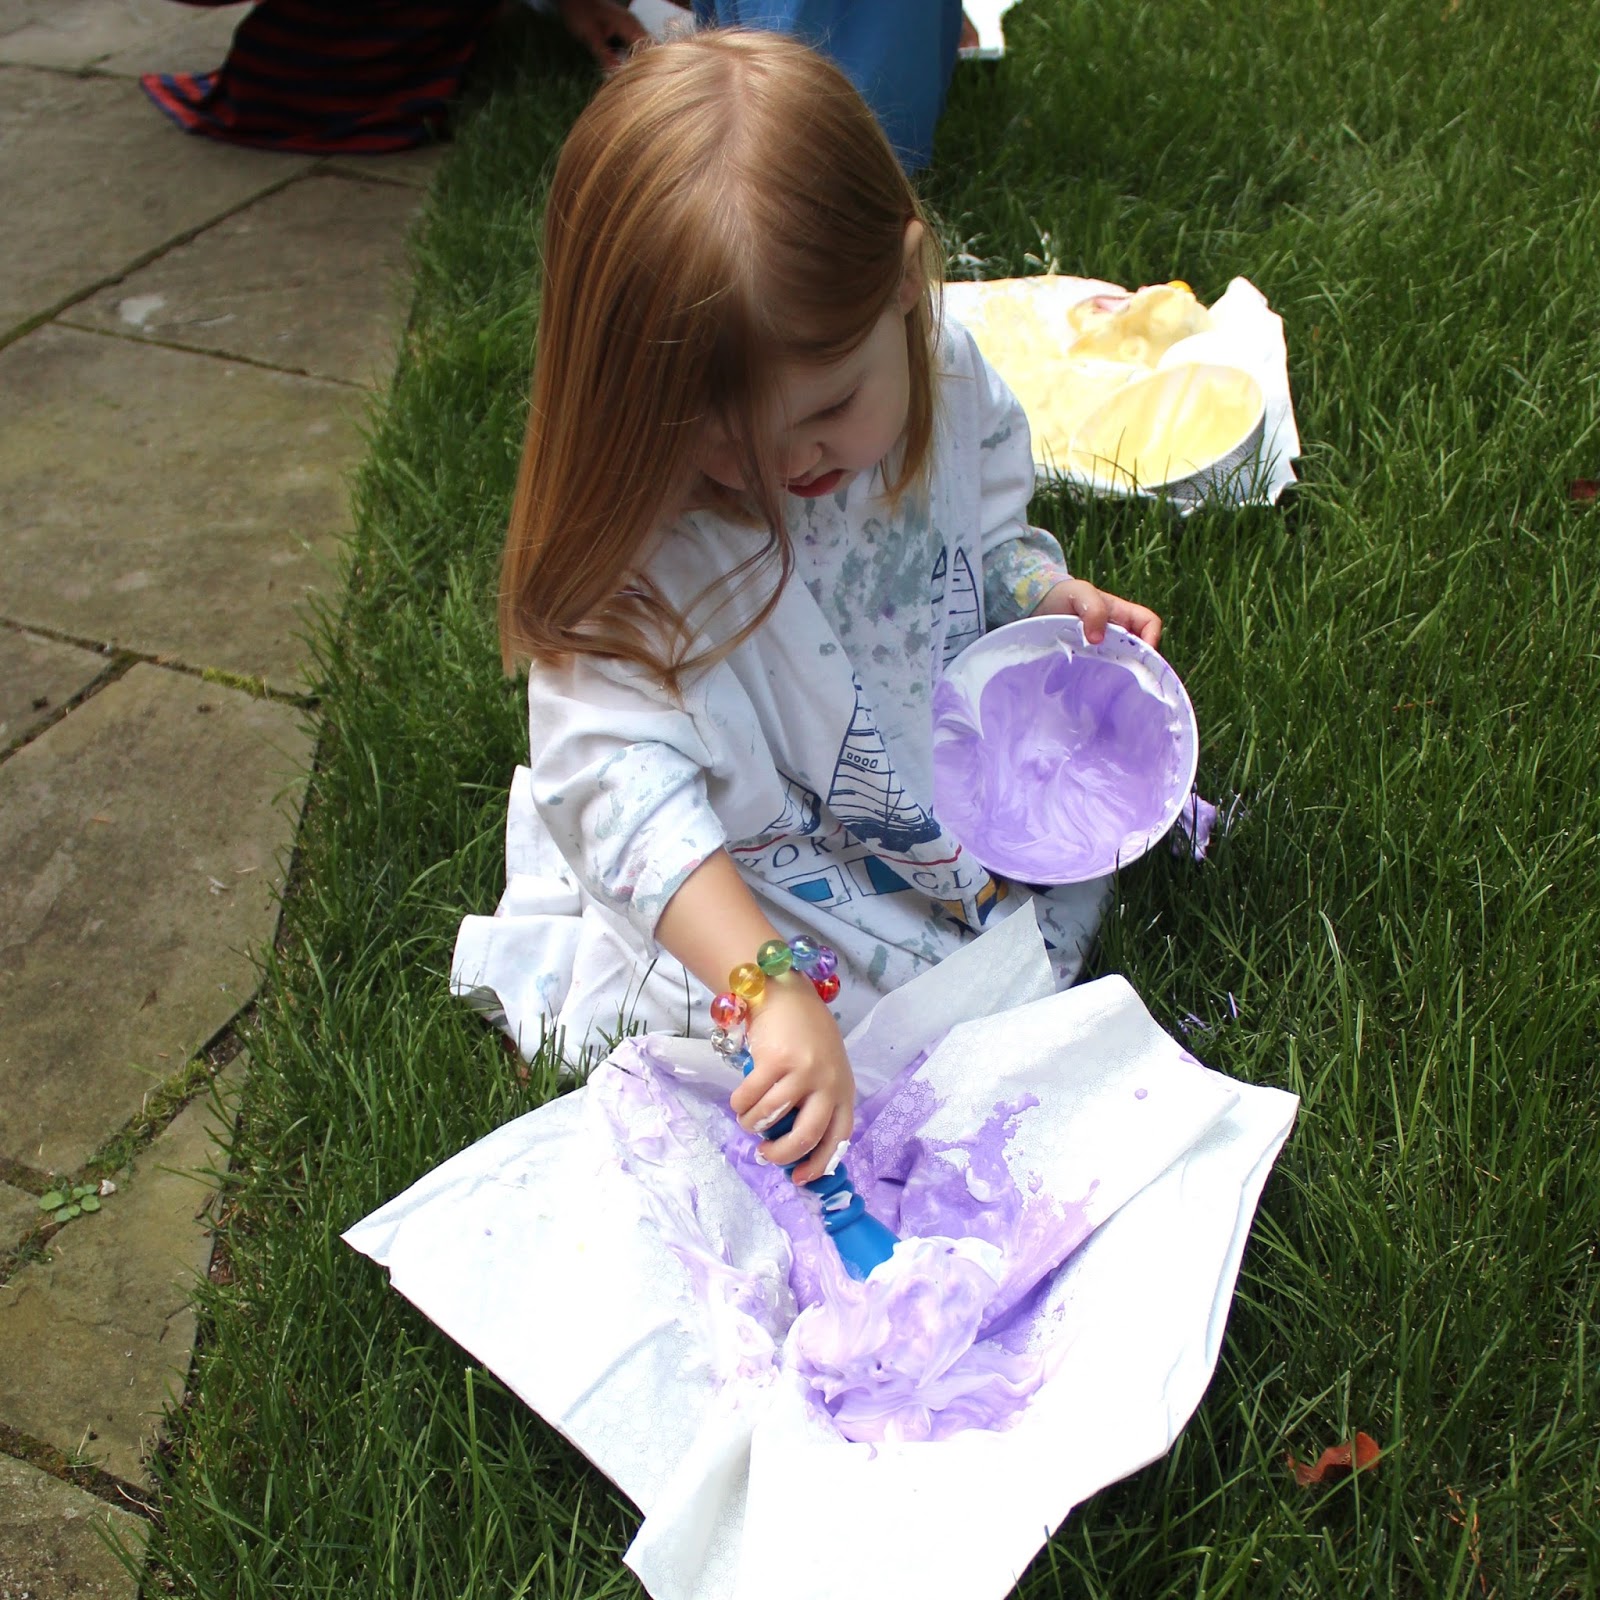
Kid Painted Quilt #4 - Shaving Foam Rainbow Paint


We spent a great deal of time the other day playing with shaving foam paint. It was so successful that I thought perhaps we could use the same technique on fabric. Armed with my Biocolor paint and Fabric Medium we went outside with fat quarter size pieces of white fabric a couple of cans of shaving foam.


Putting in the shaving foam proved to be the highlight of this activity to my 4 year old who had already explored this activity for over an hour the day before.


I should have stuck the fabric down - but the kids still got to work - smearing on the thick & puffy mixture of paint & shaving foam.


I had the kids in painting t-shirts (Daddy's old t-shirts) - ready for them to engage in some messy play. But it was one of those days - no one particularly wanted to get dirty.


I thought the kids would smear and squish with their hands as we had done the afternoon before - but instead today was a paint brush day.


My eldest did however enjoying coming up with the idea of slapping the paint brush from a great height down onto the fabric sending the foam flying ....


... kaboomb!


Here are our fat quarters all laid out and drying.


As the mixture dried the colors got darker.


Here are the fabrics before I put them in the washer (twice due to the immense amount of shaving foam on them!!)

And here is our finished little quilt. I used this tutorial here to help me construct this Around the World pattern with our rainbow colors. I adapted it as my blocks are 7 squares by 7 - I don't know if this take on the pattern is illegal in the quilting world.


Unfortunately our violet & purple were just too close in color - so I removed the violet and just used the purple - so our quilt is a little smaller than I had intended - but I think it shows the soft smears and mottling that shaving foam brings to your dying/painting process.


I had also used a bubble/dot white on white print for our fabric - you can still clearly see the bubbles/dots through the fabric paint. I have not used straight lines for quilting in a very long. For this quilt I sewed in the ditch and then on the diagonals - following the patterns of the blocks.


I always forget that simple can look delicious too. I'm actually in love with the back of this quilt. I used a cute white & pink print and the simple straight and diagonal lines really appeal to the inner minimalist in me. Negative space is something I really want to explore more in quilting.


We are building up quite a collection of fun mini quilts that the girls have helped me create this summer!


Our other kid painted fabric projects this summer have included:

Wednesday, September 4, 2013

Tutorial: A Simple Bordering/Framing Method for your Quilts or Blocks

My quilting teacher commented on the way I make my borders around my quilts and I hadn't really thought that I was doing anything new or novel - I thought everyone did their borders this way. She took a photo to show a fellow quilting teacher so I thought I would post this information and see if it helps anyone else.

For the purpose of showing how I put together borders this demo is not to scale. (And when I take pictures on the macro setting of my camera my images always seemed curved - does anyone else have this issues?)

I have used a orange rectangle to represent the 'quilt' or block. I make a long strip of fabric by sewing equal lengths together (crosswise grain) when I'm making large borders. I do not have joins in the border fabric if I am bordering blocks. 


 I sew the border in the following order and direction.
When you sew the first strip across the top from right to left leave about 1/2 " gap at the edge of the top left corner (see below.) Leave a loose piece of the strip on the top left corner. If your strip is 3" wide leave a little over 3" - if your strip is 6" leave a little over 6" etc


Press & trim and add the next strip that goes top to bottom on the right side of the quilt/block. 


Continue with the bottom strip again going from right to left.


On your final strip sew from the bottom left to the top left of the quilt. Your 1st strip and your last strip will still not be connected in the corner. 


Connect the strips by folding the top strip down. 


Sew the strips together. 


Press & trim. 


The back of the border will look like this. 


Happy borders!

Other quilting tips:
Basting & Layering Tip
Machine Chain Piecing